Using Sketchbook Pro

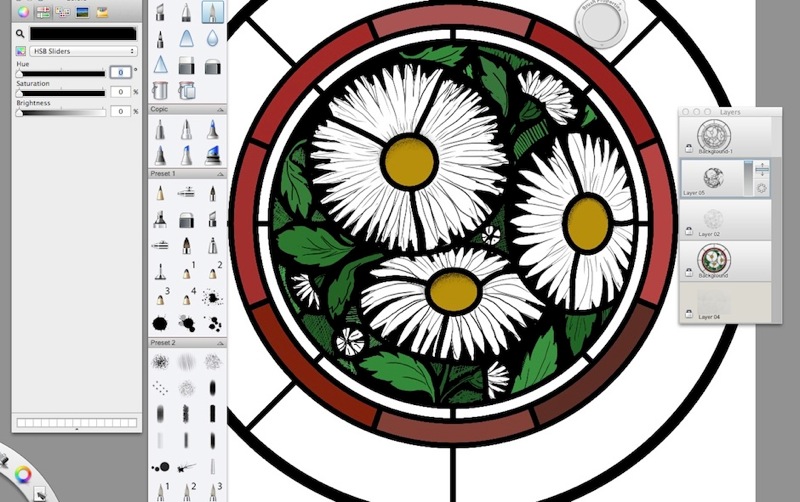
I’ve been using SketchBook Pro a lot recently, to produce coloured preliminary sketches for customers. Some of the effects available feel like working with glass, laying paint onto coloured sections and then rubbing through it to expose the colours beneath.
The drawing above was produced using the following steps:
- The initial sketch is produced using pen and paper, in this case by Susie Hunt
- The sketch is photographed and scaled to the required size for the window we are designing.
- A vector-based scale leadline drawing is produced from this image, using leadlines to indicate changes of glass colour. This is best done using Adobe Illustrator – not ideal for CAD style drawing, but better than a tablet-driven bitmap editor like SketchBook Pro (SBP).
- A new SBP drawing is started, with 5 layers.
- Layer 1 is the sketch drawing, which acts as a guide for all the “paintwork” to be added.
- Layer 2 is the leadline drawing from Illustrator. This is duplicated to Layer 5.
- Layer 3 will be the traceline.
- Layer 4 will be the shading.
- Layer 5 is the duplicated leadline
Each glass piece on Layer 2 is then coloured using the paint tool – I use manufacturers glass bitmaps to get basic colours via the fantastic ColorSnapper tool, which gives a reasonably representative palette.
Once the glass colours are drafted, the transparency of Layer 2 is reduced, so the sketch is visible through the glass.
The traceline is drawn on Layer 3, using a variety of brushes and pencil tools. Shading – matting is added in Layer 4, and then paint is removed wherever neccessary using the eraser tool. The Layer 2 Transparency is switched off, and the sketch is complete.
The method is relatively quick, and built up in layers like a painted passage in a window. The result is a reasonable fascimile of stained glass, and certainly suitable for presenting to the client.
